Planet Photoshop
Making Realistic Rain
Although Photoshop doesn’t have a built-in atmospheric effects generator, there are ways to create just about anything from rain to snow to fog. In today’s tutorial, we’ll take a look at a quick-and-easy way to create rain using a little-known layer style by the name of (you guessed it) “Rain.”
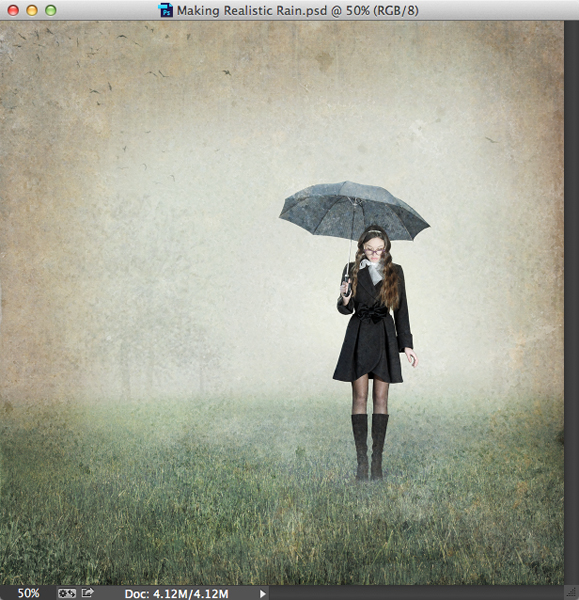
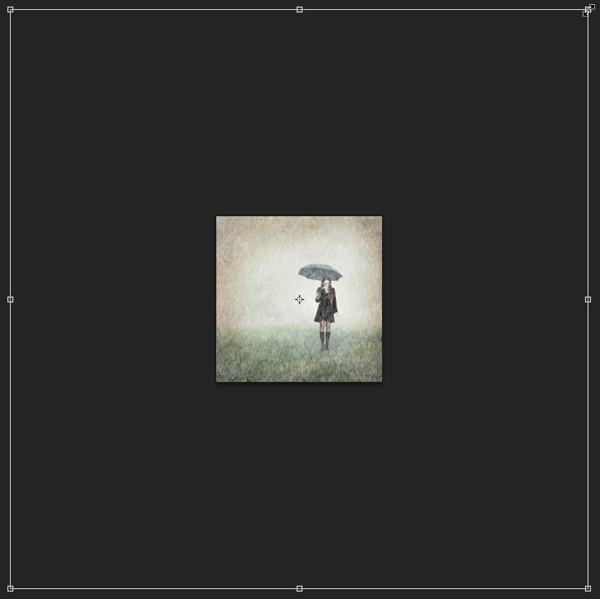
Step 1: Open a Dreary Image
Open an image where you’d like to see rain, but none exists.
Step 2: Make Rain
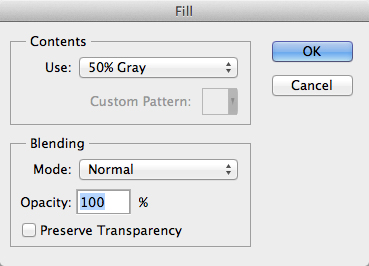
Click on the Create a new layer icon at the base of the Layers panel. Choose Edit>Fill. Set the Use pull-down to 50% Gray.
Click OK. If the Styles panel is not open, choose Window>Styles. From the flyout menu, choose Image Effects.
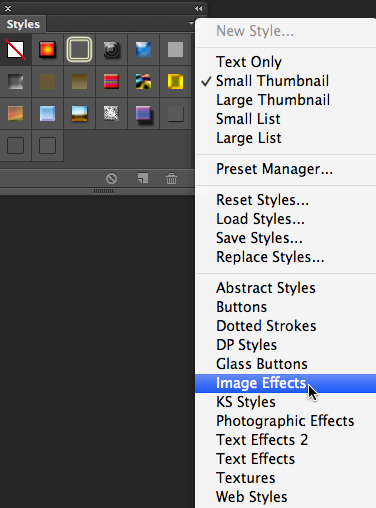
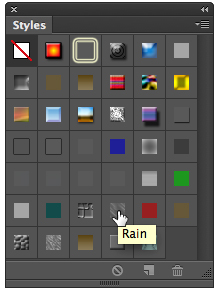
In the alert dialog, click Append to add the Image Effects layer styles to your existing inventory. Near the base of the panel, click on the “Rain” style icon.
In the Layers panel, change the blend mode to Overlay.
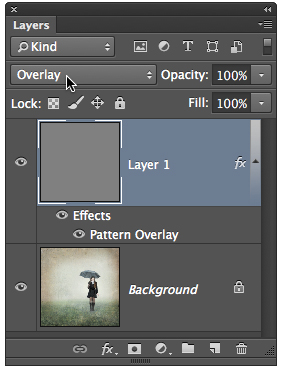
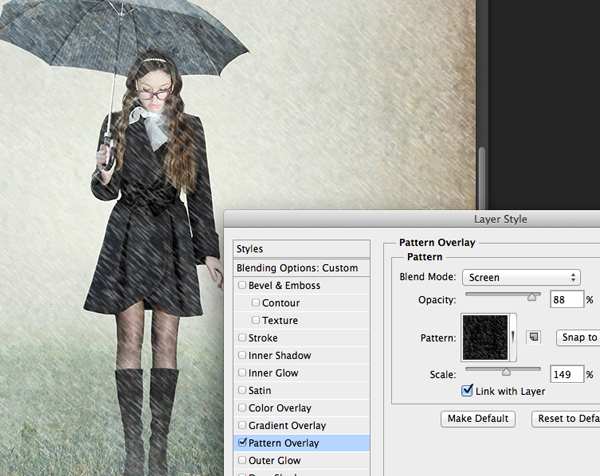
Click on the Pattern Overlay layer effect name to open the Layer Style dialog. Modify the Opacity and Scale of the rain until it suits your needs.
Press OK. If 45-degree-angled rain doesn’t suit you, choose Layer>Layer Style>Create Layer. Click on the “Layer 1’s Pattern Fill” layer and press Command-T (PC: Control-T) to activate Free Transform. Hover just outside one of the corner handles until the cursor becomes a bent arrow. Click-and-drag to rotate the rain to a desirable angle.
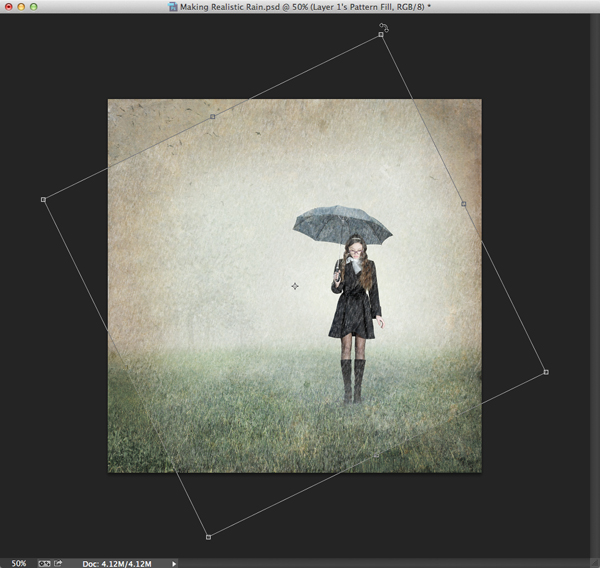
While pressing Option-Shift (PC: Alt-Shift), drag one of the corner handles to scale the rain until it covers the entire photo. Press Return (PC: Enter).
Step 3: Make Blurry Foreground Rain
Now we’ll create blurry foreground raindrops to add depth to the scene. Press Command-J (PC: Control-J) to duplicate the rain layer. Press Command-T (PC: Control-T) to activate Free Transform. While pressing Option-Shift (PC: Alt-Shift), drag one of the corner handles outward to scale the rain until it forms a layer of larger, more blurred raindrops. Note: If you can’t locate the corner handles, press Command-0 (PC: Control-0).
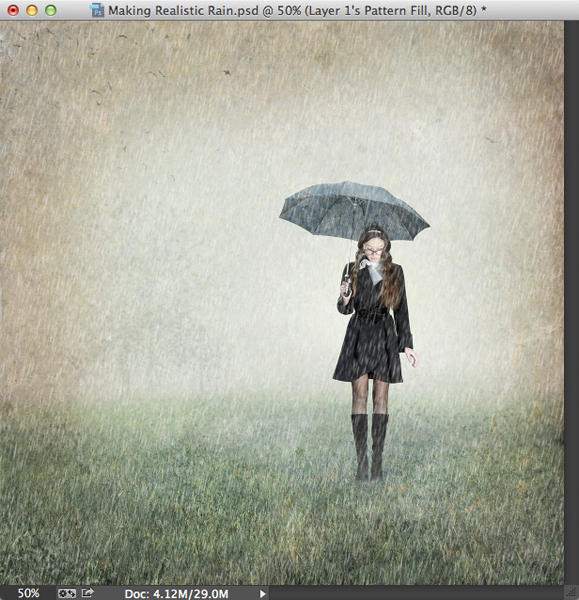
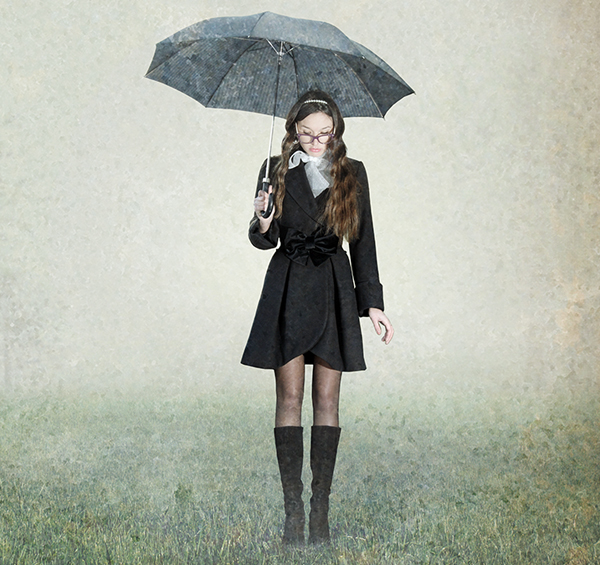
Tap Return (PC: Enter) to commit the transformation. Here’s a look at the scene prior to raindrops.
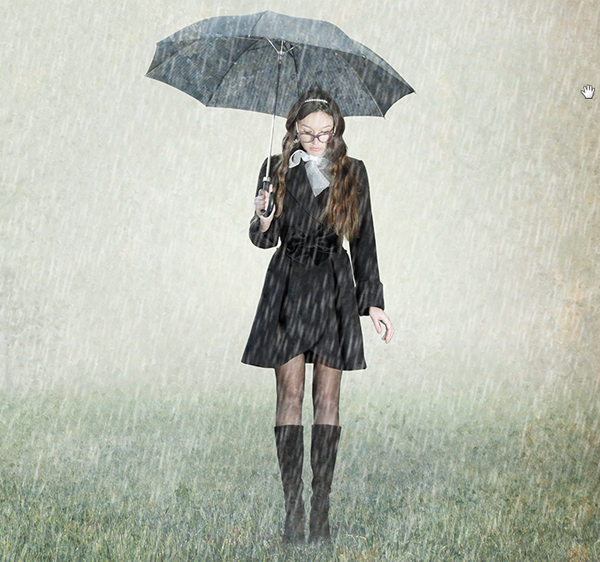
Here’s a look prior to adding the big, blurry raindrops.
And here’s the completed look with two independent layers of raindrops.
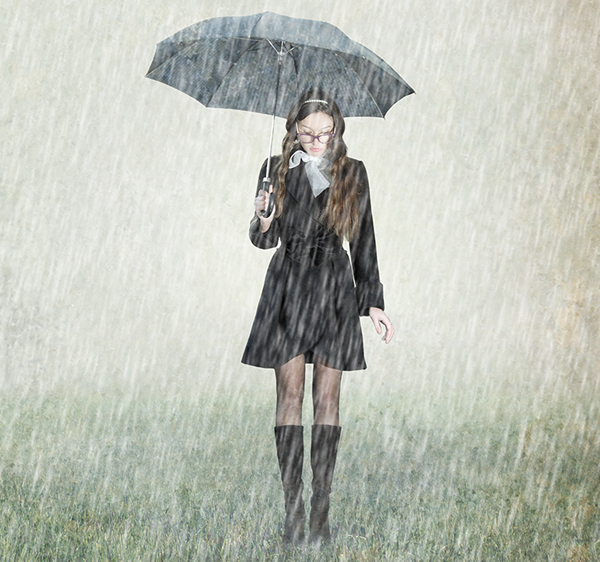
Keep in mind that since the foreground raindrops are on a separate layer, it’s possible to reduce their opacity or blur them independent of the other, smaller raindrops. Have fun and stay dry!
Mark S. Johnson Photography
msjphotography.com
Adobe Photoshop CC: Manipulating Layers
Learn the secrets to layer success as Franklin McMahon demonstrates the many ways to work with layers in Photoshop CC including making copies, transforming, grouping, smart guides, snapping and layer edges.
Adobe Announces Major Creative Cloud 2014 Release and New Plan for Photographers
Today, Adobe announced 14 new versions of Creative Cloud desktop applications, including Adobe Photoshop CC, Adobe Illustrator CC, Adobe Dreamweaver CC, and Adobe Premiere Pro CC. This release also includes new mobile apps to improve connectivity, as well as a new Creative Cloud Photography plan.

Photoshop CC 2014 includes the addition of two motion blur effects: Path Blur and Spin Blur. Both effects create a sense of motion, with Path Blur allowing photographers to adjust the blur along a path and create multiple blurs to isolate the subject and create dazzling effects. Spin Blur enables photographers to apply a spinning motion to objects, such as the wheel of a car.
Focus Mask allows photographers and retouchers to create portrait shots with a shallow depth of field by automatically selecting the in-focus area of an image for headshots or objects, separating the subject from the background. Content-Aware has been improved with new technology that blends areas containing gradients, such as skies. To assist these new features and improvements, Adobe improved the Mercury Graphics Engine, which upsamples images up to 15 times faster to create fluid motion blurs.
Other new Photoshop CC 2014 features include:
- The ability to link smart objects and share them across multiple documents
- Changing the visibility, position, or appearance of one layer and syncing to see the change reflected in Layer Comps
- Smarter Smart Guides allow users to get the exact distance in pixels between objects
- Access to select Typekit fonts from Photoshop
- Discover new fonts
Along with the major Creative Cloud update to Photoshop and 13 other apps, Adobe also released a new Creative Cloud Photography plan that costs $9.99 per month. This plan includes Photoshop CC and Lightroom 5, cloud storage, and two mobile apps: Lightroom mobile (for both iPad and iPhone) and the new Photoshop Mix.
Lightroom mobile users can now add star ratings to photos, customize the sort order, as well as make nondestructive edits using smart preview technology. Edits, ratings, and metadata changes automatically sync back to the Lightroom catalog on the desktop, and you can view them on any Web browser at http://lightroom.adobe.com.

The new Photoshop Mix provides users with a connected mobile workflow to the Creative Cloud. With this powerful new app, users can open Photoshop documents; isolate individual layers from PSDs and images from Lightroom mobile; apply looks; create advanced selections and masks; and access advanced Photoshop features such as Upright, Content-Aware Fill, and Camera Shake Reduction. After edits are made, you can export the layered and masked composition to Photoshop CC for additional edits on the desktop. You can then share your work or save it to a Photoshop document.


Photoshop and photographers didn’t get all the attention, as Adobe released new mobile creativity apps to connect the Creative Cloud to mobile devices. Creative Cloud for iPad and iPhone allows Creative Cloud members to access and manage their files and assets from their mobile devices. Creatives will enjoy Adobe Sketch, a social sketching iPad app for freeform drawing. It features a graphite pencil, ink pen, blending markers, eraser, and other essential drawing tools. Adobe Line is an iPad app for precision drawing and drafting. Line re-creates drafting and combines organic drawing with straight lines, French curves, and shapes that can be drawn in plan and elevation views, or in perspective. According to Adobe, Android versions of the mobile software are in development.

For more information, visit www.adobe.com.
To dive in and begin learning all the new features immediately, KelbyOne created the Creative Cloud Learning Center. Anyone can access these most comprehensive tutorials at http://kelbyone.com/cc-resources.
Chrome Type Effect in Photoshop CC
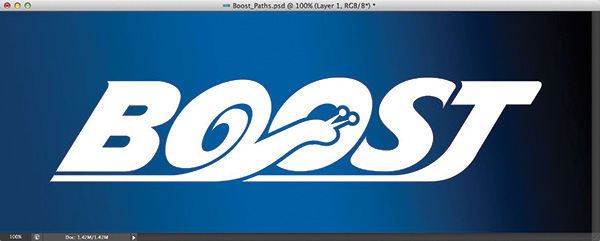
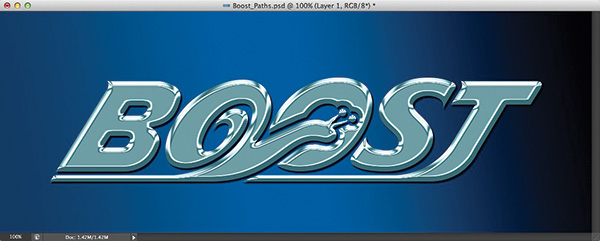
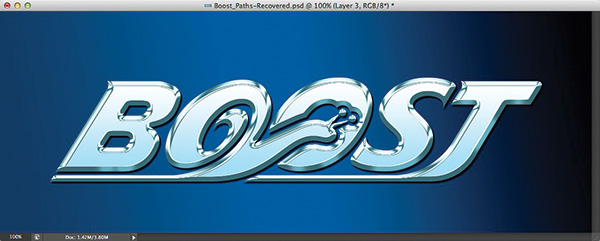
How could you go wrong with Turbo, a movie about a turbocharged snail winning the Indy 500? The storyline probably goes something like this: Snail gets really fast, learns important life lessons along the way, wins the big race, and fulfills a lifelong dream. Pretty standard. So is the logo created for the movie—sort of. While it doesn’t use super-complicated Photoshop effects, the logo itself is extremely clever. Kudos to the designer that created a great logo without using a ton of over-the-top effects. Here’s our version using several different layer styles.
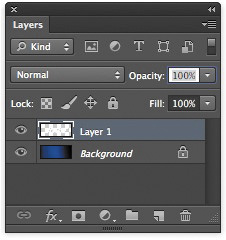
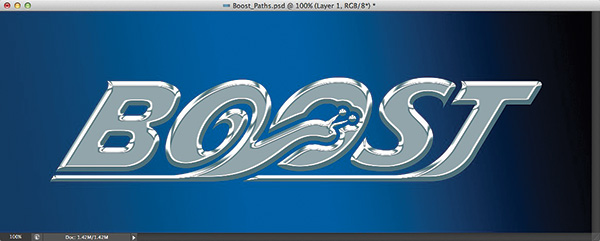
STEP ONE: Create a new document, and fill the Background layer with a color or gradient. Using the Pen tool (P), draw a path for the text or shape to which you want to apply this technique. [KelbyOne members may download the file used in this tutorial at http://kelbyone.com/magazine/issue/october-2013/. The practice file, Boost_ Paths.psd, includes the path we’re using here. All files are for personal use only. To learn more about KelbyOne, visit http://kelbyone.com.] Create a new layer (Layer 1) by clicking on the Create a New Layer icon at the bottom of the Layers panel. Press D to reset the Foreground color to black and the Background color to white. Command-click (PC: Ctrl-click) on the thumbnail for your path in the Paths panel (Window>Paths) to make it a selection. Press Command-Delete (PC: Ctrl-Backspace) to fill the selection with white. Press Command-D (PC: Ctrl-D) to deselect.
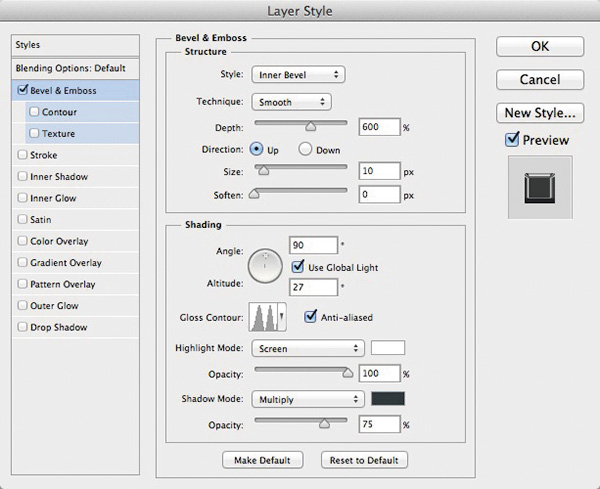
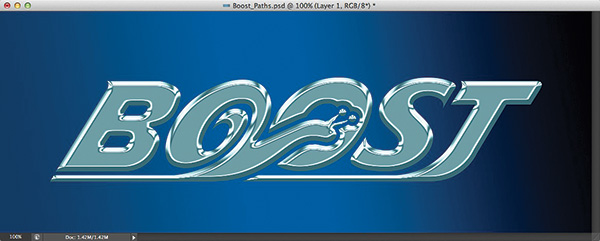
STEP TWO: Click on the Add a Layer Style icon (fx) at the bottom of the Layers panel and choose Bevel & Emboss. Enter 600% for Depth and 10 px for Size. Enter 90º for Angle and 27º for Altitude. Check the Anti-aliased box. Click on the down-facing arrow next to the Gloss Contour thumbnail, and choose Ring – Double. Raise the Highlight Mode Opacity to 100%. Click on the black Shadow Mode color swatch, choose a dark-green color (R:21, G:61, B:74), and click OK to close the Color Picker. Don’t click OK in the Layer Style dialog yet.
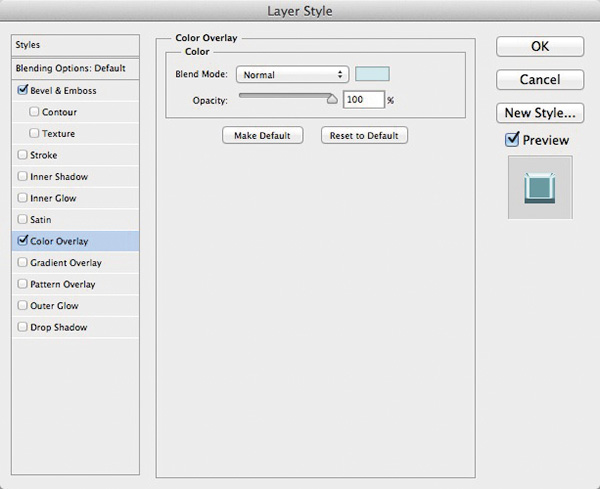
STEP THREE: Choose Color Overlay from the Styles list on the left side of the Layer Style dialog. Click on the color swatch, choose a light-teal color (R:189, G:244, B:248), and click OK.
STEP FOUR: Now, choose Drop Shadow from the Styles list. Uncheck the Use Global Light box, enter 126° for Angle, 5 px for Distance, 1 px for Size, and click OK to apply the layer styles.

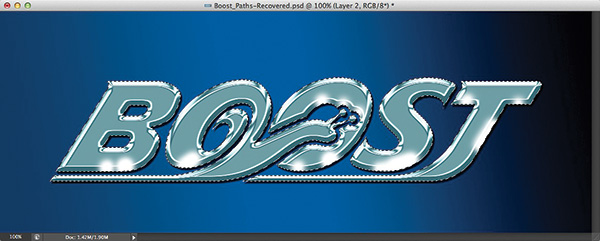
STEP FIVE: Add a new layer (Layer 2). Command-click (PC: Ctrl-click) on Layer 1’s thumbnail to make it a selection. Press X to set the Foreground color to white. Choose the Brush tool (B) from the Toolbox. Using a soft-edged brush, paint some highlights on the edges of some of the characters (see example). Change the layer blend mode near the top left of the Layers panel to Overlay, and lower the layer Opacity to 65%.
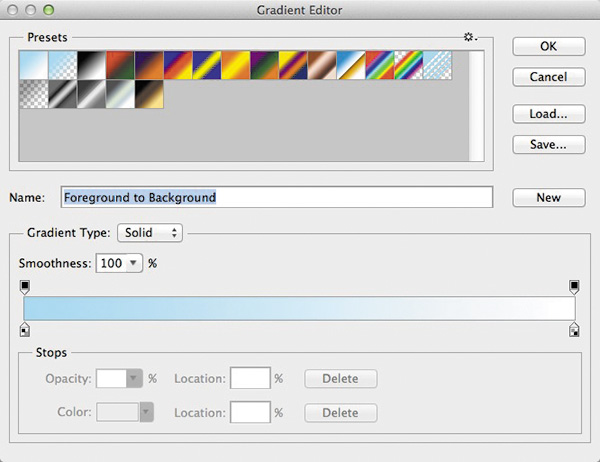
STEP SIX: Add a new layer (Layer 3). Press D to switch the Background color to white. Click on the Foreground color swatch to open the Color Picker. Choose a light-teal color (R:164, G:230, B:255), and click OK. Choose the Gradient tool (G) from the Toolbox. Go to the Options Bar and click on the Gradient thumbnail. Choose Foreground to Background in the Presets and click OK.
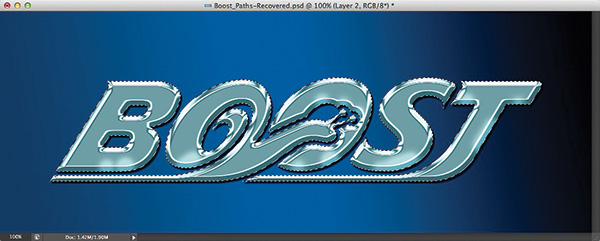
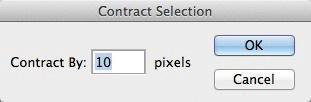
STEP SEVEN: Choose Select>Modify>Contract. Enter 10 pixels and click OK. Now, using the Gradient tool, click-and-drag a gradient from the bottom toward the top of the selection. Deselect.
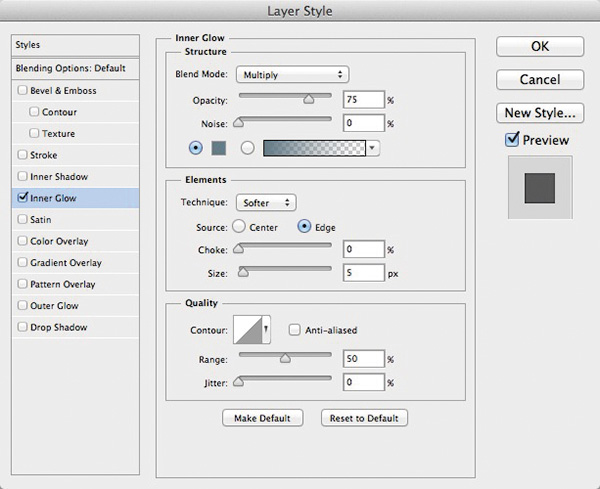
STEP EIGHT: Click on the Add a Layer Style icon at the bottom of the Layers panel and choose Inner Glow. Choose Multiply for the Blend Mode, click on the color swatch, choose a dark-teal color (R:97, G:123, B:136), and click OK. Enter 5 px for Size and click OK to apply the layer style. Add some additional text and a logo to complete the effect.

This article is courtesy of Photoshop User magazine, the official publication of KelbyOne, which provides quality online education for creative people. For more information, visit KelbyOne.com.


0 comments:
Post a Comment