Planet Photoshop
Texture Blending Techniques
Combining textures with photos is a simple and creative way to impart a painterly quality. As I search for textures to blend with subjects, I can almost feel new synapses being formed in my brain. One idea leads to another, and sometimes I wind up with the most unlikely combinations. In every case, the process of experimentation expands my creative horizons. In this tutorial, we’ll blend a beautiful texture with a hot air balloon photo. During the process, we’ll learn how to hide parts of a texture without affecting density, how to drain color from a texture, and how to create a unique scorched border effect.
Note: The texture used in this tutorial is from French Kiss Collections. To receive a 15% discount on all French Kiss textures, click here and enter the coupon code MARKSJ15 at the end of the checkout process.
Step One: Locate an Image with Negative Space
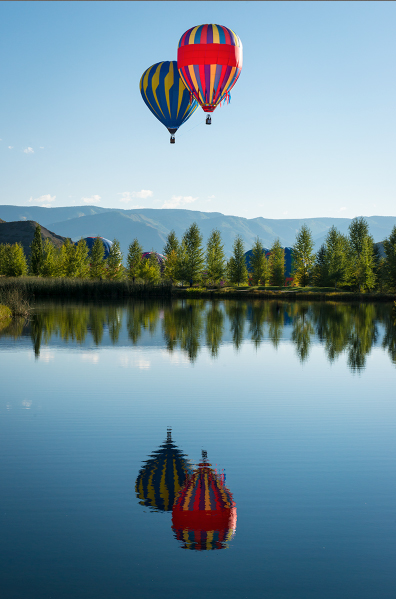
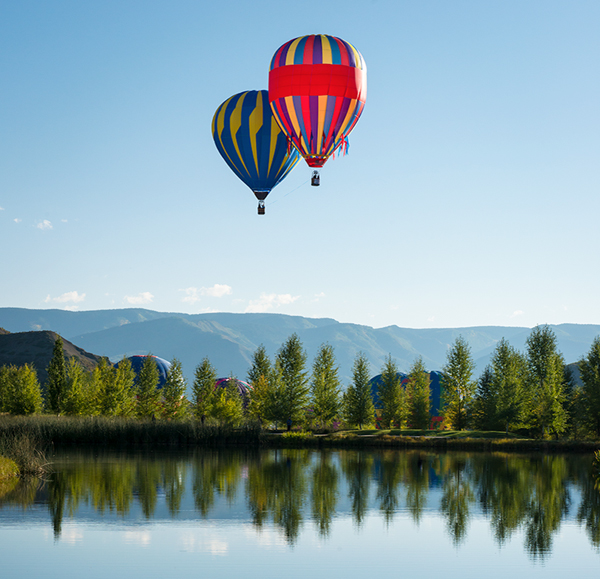
Locate and open an image with a recognizable subject surrounded by negative space. If you’re unfamiliar with the term “negative space,” it refers to open and uncluttered areas around a subject. The advantage of negative space is that it allows the texture to be more prominent. Examples of recognizable subjects surrounded by negative space include a child in a wheat field with a washed-out sky, a teacup holding a flower sitting on a plain tablecloth, or the hot air balloons surrounded by blue sky that you see here.
Step Two: Import an Interesting Texture
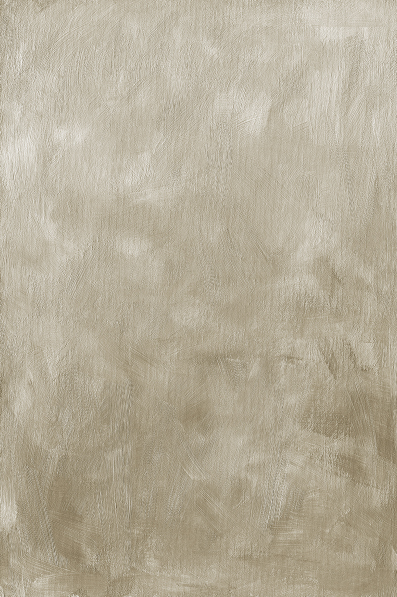
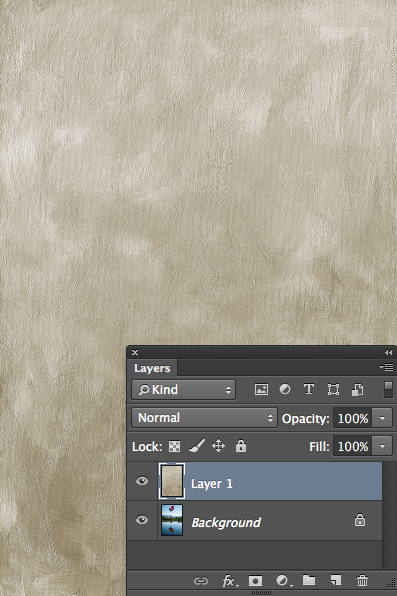
Locate and open an interesting texture. Press Command-A (PC: Ctrl-A), then Command-C (PC: Ctrl-C) to copy the texture to the clipboard. Return to the negative space file and press Command-V (PC: Ctrl-V) to paste the texture as a new layer.
Step Three: Mix the Texture with the Photo
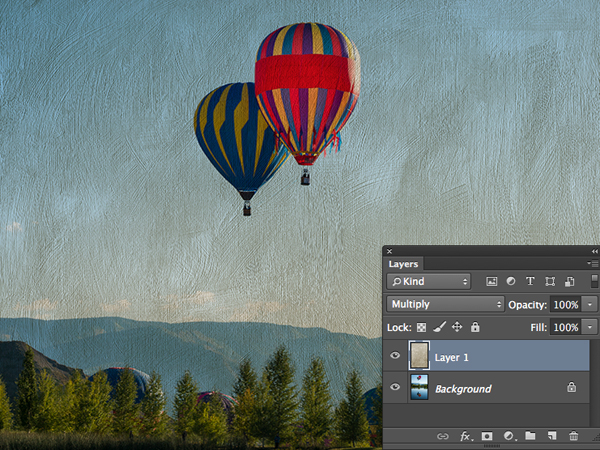
In most cases, the Multiply and Overlay blend modes do the best job of blending a texture with a photo. Since this isn’t always the case, I prefer to explore all blend modes before making a decision. To quickly cycle through the list of blend modes, activate the Move tool (V), press-and-hold the Shift key, and tap the + key. In this example, Multiply mode is the most interesting, despite the brown cast, which we’ll eliminate in an upcoming step.
Step Four: Intelligently Hide Parts of the Texture
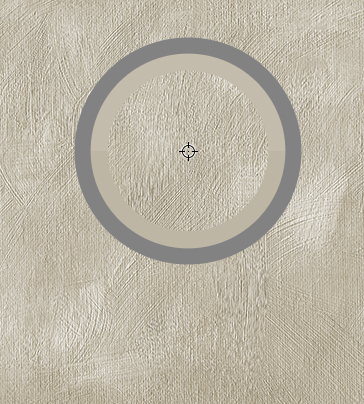
In this step, we’ll hide (or reduce) the visibility of the texture where it overlaps the balloons without affecting density (brightness). Although a layer mask is capable of hiding parts of the texture, the downside of a mask is that it also affects density. Instead, we’ll use an alternative method. Option-click (PC: Alt-click) the layer visibility icon (eyeball) next to the texture layer (Layer 1). This turns off the visibility of all other layers. Choose the Brush tool (B). With only the texture layer visible, Option-click (PC: Alt-click) on a color in the general region of the subject (in this case, the balloons). This samples the color.
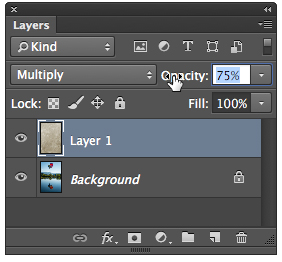
Option-click (PC: Alt-click) the layer visibility icon next to the texture layer again to switch on visibility for all layers. Now is a good time to dial in the texture’s opacity. Hover over the word “Opacity” near the upper-right corner of the Layers panel and move the scrubby slider (hand with a double arrow) to the left to reduce the texture’s prominence.
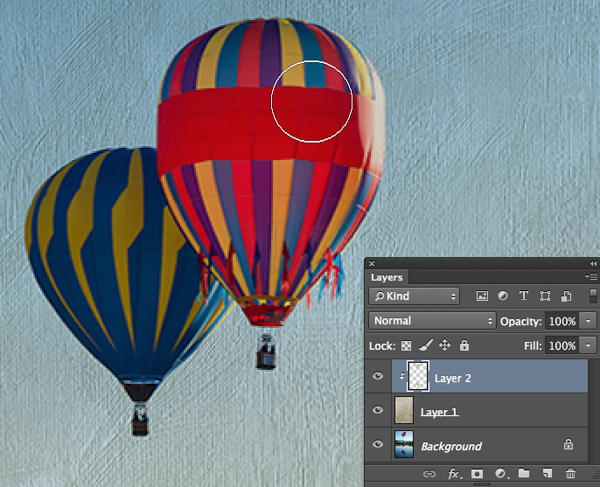
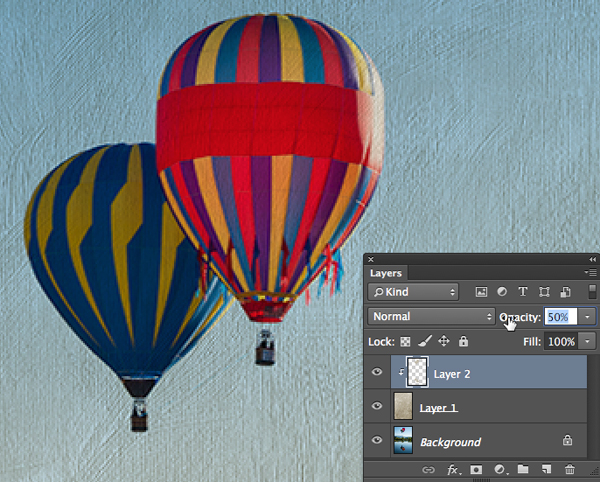
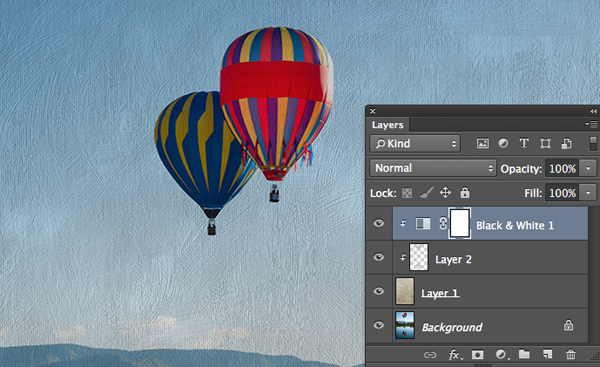
Option-click (PC: Alt-click) the Create a New Layer icon at the bottom of the Layers panel. In the New Layer dialog, check the Use Previous Layer to Create Clipping Mask box. This clips the texture-reducing layer we’re creating to the texture layer. Click OK. With the Brush tool still active, use a soft-edged brush at 100% Opacity and Flow to paint over the balloons in both the sky and reflection. Painting with the sampled color eliminates the texture, but maintains the density. Cool! If you’d like to restore a hint of texture to the balloons, reduce the layer’s opacity.
Step Five: Eliminate Color from the Texture
Since the brown color of the texture is corrupting the color of the picture, let’s drain the texture’s color. Choose Layer>New Adjustment Layer>Black & White. To drain color from only the texture, check the Use Previous Layer to Create Clipping Mask box and click OK.
Step Six: Add a Scorched Border
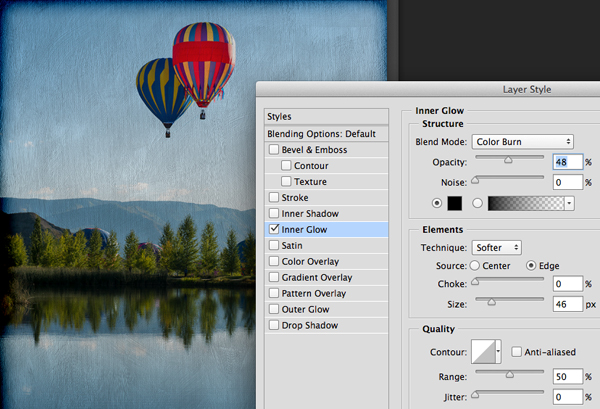
Texture-blended photos often look nice with a creative border, so let’s use the built-in layer styles to create a scorched one. Ensure that the topmost layer is active. While pressing Option (PC: Alt), choose Layer>Merge Visible. This creates a merged composite layer at the top of the layer stack. Now choose Layer>Layer Style>Inner Glow. Set the Blend Mode to Color Burn, click the yellow color swatch, and set the color to black. Click OK to close the Color Picker. Drag the Size slider to the right until you’re pleased with the width of the border. Tweak the Opacity until the desired effect is achieved, and click OK to close the Layer Style dialog.
If desired, experiment with adding additional textures. Here’s a magnified version of our starting photo.
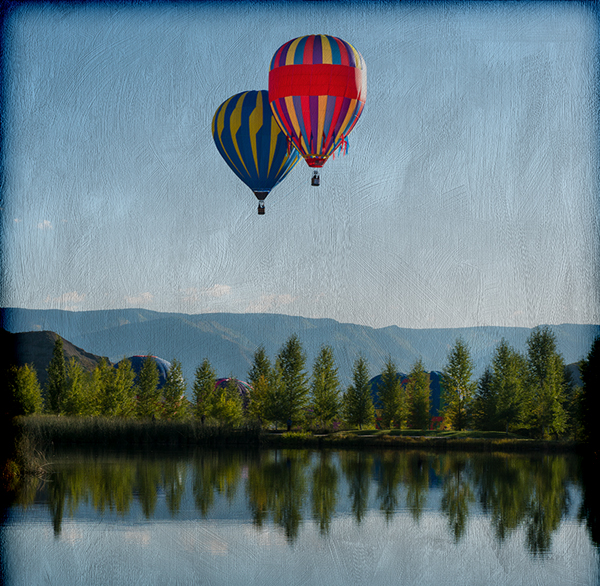
And here’s the completed effect.
If working with textures excites you, you may get a kick out of the following free tutorials:
Photoshop Workbench 351: French Kiss Painterly Texture Montage
Photoshop Workbench 315: Creativity with Textures
Photoshop Workbench 423: Texture Blending with Adobe Paper Texture Pro
Mark S. Johnson Photography
msjphotography.com


0 comments:
Post a Comment